Which gasket material is best, and what size should we specify?
Selecting the appropriate gasket is essential in maintaining a safe, clean, and leak-free hygienic connection. Temperature ratings and resistance to degradation are key factors in determining the best gasket material for your particular application. When deciding on a gasket material, also consider compatibility of the material being transferred (including cleaning solutions) along with the operating pressure and temperature of your system.
Once installed, your first step is to inspect the gasket. Inspections are vital because they are the first line of defense against potential contamination issues, hopefully preventing them from developing into serious problems later in
your process. Closely inspect your existing gasket. Are there tiny cracks and tears? Has it discolored? Is it hard to the point of being brittle? Elastomeric gaskets should be firm but still pliable.
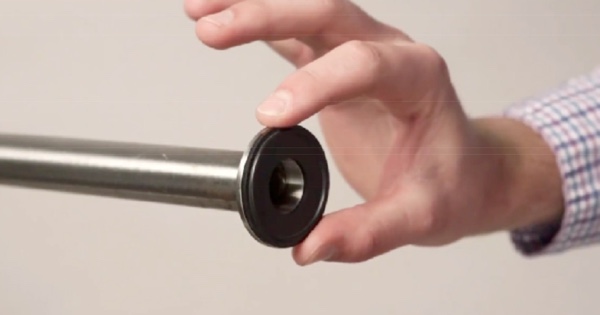
Is the gasket the right size? Close doesn’t count. When sizing sanitary fittings, make sure that you’re measuring the inner diameter of the tubing and the gasket, rather than from the flange. All sanitary connections consist of two ferrules, a gasket, and a clamp. For every ferrule, there is one exact size of gasket that you should use to avoid gaps and intrusions.
Gasket intrusion/recess values are based on hygienic design. Control the intrusion and recess to ensure cleanability. The gasket should provide a perfect bore to reduce crevices (minimizing bacterial growth) and also to reduce gasket washaway, turbulence, etc.
Note that regardless of construction material, all gaskets yield varying results in intrusion values for the same torque value applied to the same clamp type. Due to manufacturing tolerances, compound differences and postcure times, there will usually be a varying change in gasket intrusion between batches and/or manufacturer.
Gasket Installation Checklist:
Position the gasket between the ferrule flange
Align the gasket head with the grooves of both ferrule flange faces
Mate the faces together, applying the clamp
Tighten the clamp